Blender is a free, open-source desktop application for making 3D models, images and animation. It brings modeling, sculpting, materials, rigging, lighting, rendering and editing into one program. You can build a scene, change the camera and produce a finished image without moving the project between separate apps.
I'd start with Blender if you want to make your own objects or scenes and keep control of their shape and appearance. If you only need to trim an existing video, design a dimensioned mechanical assembly or build the playable part of a game, choose your workflow around that task; Blender may handle one stage rather than the whole job.
What can you make with Blender?
The useful question is what you want to deliver. The Blender manual's overview covers a complete 3D production pipeline, but each result needs a different part of it.
| Your result | Work you do in Blender | What happens next |
|---|---|---|
| A product image, interior or illustration | Build or import objects, give them materials, arrange lights and frame a camera. | Render an image for the intended screen, layout or print size. |
| An animated character or moving object | Model the subject, create its controls, set keyframes and refine motion. | Render the frames and assemble the finished sequence, with sound where needed. |
| A game asset | Create geometry, UVs, textures and animation suitable for the receiving engine. | Import and check the asset in the game engine; gameplay, collision and deployment continue there. |
| A physical 3D print | Build the shape and check dimensions, closed surfaces and printable detail. | Export a mesh, inspect it in the slicer and prepare the printer's job. |
| A drawing or hybrid 2D/3D animation | Use Grease Pencil drawing and animation tools alongside a 3D scene. | Deliver rendered frames or an edited sequence. |
| A visual-effects shot | Track filmed camera movement, create matching 3D elements and combine image layers. | Check the composite against the original footage and the delivery requirements. |
| A video edit or motion-graphics sequence | Arrange clips, sound, text and effects in the Video Sequencer; include 3D scenes if useful. | Export and check the movie, including its picture and sound. |
You don't have to learn all these jobs. For a first product image, animation controls and motion tracking can wait. For a printable figurine, camera lighting may help show the design, but it won't repair a hole in the mesh.
How a Blender scene becomes an image
Think of a small scene as objects arranged in a space, with instructions for how they should look and be photographed. The objects stay editable; the final image is one view of them.
- Geometry gives an object its shape. A mesh is built from vertices, edges and faces: points, the lines joining them and the surfaces between those lines. Modeling changes that structure. Sculpting changes a mesh with brushes, much as you would shape a surface.
- Materials describe the surface. Color is part of a material, alongside properties such as roughness and metallic response. An image texture can supply a pattern. UV coordinates tell Blender how a 2D image maps onto the surface.
- Lights and the environment illuminate it. A pale material under a warm light can look different from the same material under a cool one. That difference matters when judging the result.
- The camera chooses the frame. Moving around the viewport lets you inspect the scene; moving the camera changes the view used for its render.
- Rendering calculates the image. Blender turns the scene's geometry, materials, lighting and camera into pixels. Compositing and editing can then combine or adjust the result.
The mesh structure reference explains why a visible face is different from a wire edge. That distinction carries through the workflow: an attractive outline in the viewport doesn't automatically make a closed printable object, and a texture doesn't change the silhouette of a plain cube by itself.
Procedural tools offer another way to build that shape. Geometry Nodes passes geometry through connected operations, so a reusable setup can generate or modify objects. It belongs alongside ordinary modeling; you can learn a useful first scene without constructing a node system.
Modifiers keep automatic geometry operations separate from the base mesh while you adjust their settings. Their order affects the result. This is useful when a later revision should change an operation rather than require you to rebuild the object; applying a modifier makes its changes permanent.
For movement, rigging gives a character controls, often through a bone-based armature. Keyframes store property values at particular times, and Blender calculates the values between them using the chosen interpolation. A rig sets up what you can pose; animation determines how those poses change.
Physics simulations calculate effects such as cloth or water from a setup instead of requiring you to pose every intermediate state. You still choose the objects, conditions and desired result. Simulation, keyframing and rigging can contribute to the same shot, but they solve different parts of it.
Make and save your first Blender image
Use a normal desktop release from the official Blender download page. The menu paths here follow Blender 5.2 LTS with the default Blender keymap. Its long-term-support branch is maintained until July 2028; choose its current maintenance download if you want to follow this version's controls. A course that requires a newer feature may give you a reason to use another stable release.
Desktop downloads cover Windows, Linux and macOS. For a Mac, Blender 5.0 and later require Apple silicon. An Intel Mac needs an appropriate older supported branch rather than the 5.2 build. Check that branch's operating-system and graphics requirements before downloading; a processor name alone doesn't establish compatibility.
I recommend rendering the default scene before downloading models or add-ons. It contains the three things this exercise needs: an object, a camera and a light. You'll learn the difference between an editable project and a delivered picture with very little setup.
- Start a General file. If another project is open, save it first. Choose File › New › General. In an uncustomized startup, the Outliner lists Cube, Camera and Light, and the cube has an orange selection outline. A customized startup can differ; don't delete existing work to imitate this scene.
- Save the project. Choose File › Save As, select a folder and give it a name such as
first-scene.blend. This is your editable scene, not the picture. - Render the current frame. Choose Render › Render Image from the top menu, or use F12. Wait for the render to finish. The Render Result should show the cube from the scene's camera, rather than from whichever angle you last orbited around it.
- Save the picture separately. In the window or Image Editor showing Render Result, choose Image › Save As. Set the file format to PNG, choose a filename such as
first-render.pngand confirm the save. Open that PNG from its folder to check that the picture was written. - Keep both files. Open the .blend when you want to change the scene. Use the PNG when you need the finished flat image. Saving one does not replace saving the other.

The Image Editor's save instructions make an easy-to-miss distinction: animation renders save automatically through their output settings, while a still render needs a manual image save. Setting an output folder and pressing F12 is therefore not a complete PNG-delivery workflow.
For one controlled change, return to the main Blender window; Render › View Render, or F11, toggles the render display. In Layout, select the cube and make sure the viewport's mode reads Object Mode. With the pointer over the 3D Viewport and the transform orientation set to Global, press S, then Z, type 1.5 and press Enter. These are sequential keys: scale, restrict to the Z axis, then set the factor.
This combines Blender's documented axis constraint with numeric transform input. The cube becomes taller while its width stays the same. Render again and save under a second PNG name, then save the .blend. You now have a visible change tied to a specific edit, rather than an unexplained collection of shortcuts.
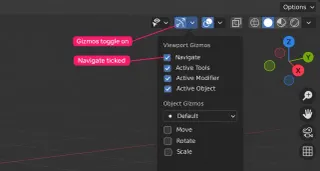
If the render angle surprises you, compare viewport navigation with positioning the scene camera. If the viewport's grid floor disappears from the image, that's expected: the startup grid is a guide, not a modeled floor surface. If rendering is slow, reduce the resolution percentage in Output Properties for a smaller working image; restore the intended output size before delivery.
Workspaces arrange the tools for each job
A workspace is a saved arrangement of editors, selected with the tabs across the top. An editor is one area that performs a job: the 3D Viewport displays the scene, the Outliner lists its contents and the Properties editor holds settings. Switching workspace doesn't create a different copy of your model.
The default Layout workspace combines those editors with a Timeline. Keep it while learning to select and transform objects. Then switch to another layout when the next task needs it; you don't need to work from left to right across every tab.
| Workspace | Go there when you need to… |
|---|---|
| Modeling | Edit the geometry of an object. |
| Sculpting | Shape a mesh with brushes. |
| UV Editing | Arrange the coordinates used to place an image texture on a surface. |
| Texture Paint | Paint image textures on the model. |
| Shading | Build and adjust materials. |
| Animation | Work with changes over time. |
| Rendering | View and examine rendered results. |
| Compositing | Combine and process image layers or render information. |
| Geometry Nodes | Build procedural geometry operations. |
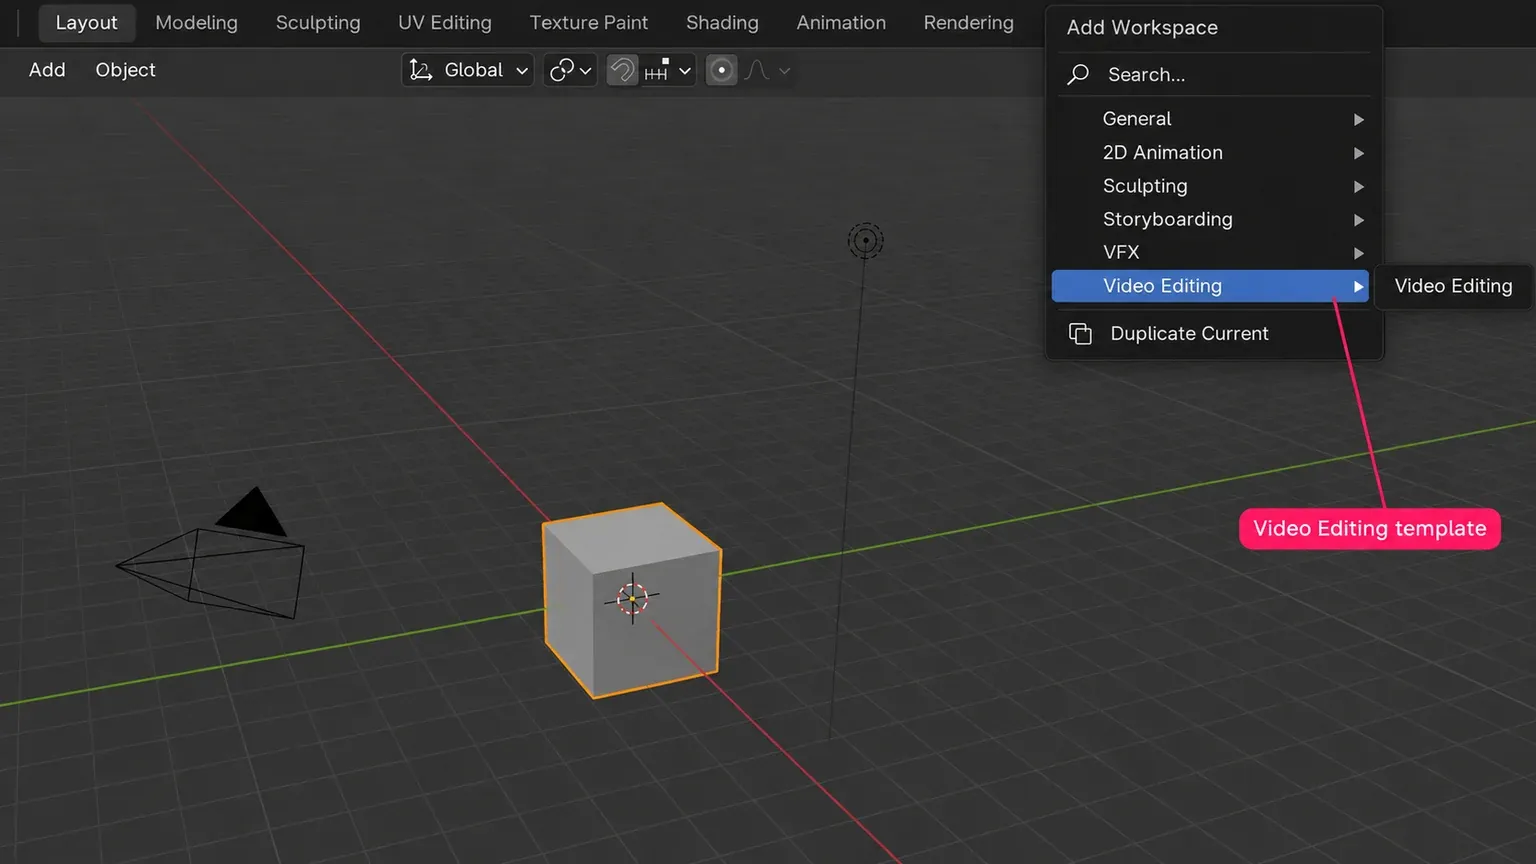
The workspace controls also let you add layouts using the + at the end of the tab row. For example, choose a Video Editing workspace to arrange the editors for clips and sound. Adding that workspace changes the layout of the current file; File › New › Video Editing starts a new file from a template, so save the current project first. Our Video Sequencer guide follows that separate editing task through export.
Object Mode and Edit Mode change what an operation affects
A mode is different from a workspace. In Object Mode, you position, rotate or scale the object as a whole. In Edit Mode, you change its component geometry. For a mesh, those components are vertices, edges and faces. Sculpt Mode supplies brush tools for changing the mesh's shape.
With a mesh selected and the pointer over the 3D Viewport, Tab toggles Edit Mode under the default keymap. The Mode selector in the viewport header is the visible way to check or change it. Available modes depend on the active object's type: a camera won't offer the same mesh-editing choices as the cylinder shown below.

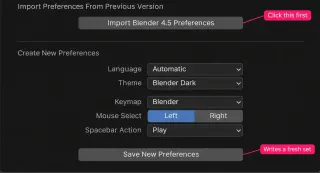
If an instruction names a menu you can't find, check the active object, its mode and the editor beneath the pointer before resetting preferences. The same key can perform a different job in another editor. An orange outline around the cube also doesn't mean that every vertex is selected inside Edit Mode.
EEVEE and Cycles produce images in different ways
EEVEE uses real-time rasterization techniques and can produce final renders as well as interactive views. It is useful when you want to keep judging composition, light and surface appearance while you work. Its approximations and feature limitations still matter; a material or lighting setup won't necessarily match Cycles unchanged.
Cycles is Blender's physically based path tracer. I'd choose it when the required light transport and material result justify the rendering cost. That is a decision about the actual scene, not a promise that one engine always looks better or runs faster on every computer.
Workbench serves modeling and preview work, where a clear view of form can matter more than a finished material. It doesn't evaluate shader nodes like EEVEE or Cycles. Seeing a surface in a solid viewport display therefore doesn't establish how its final material will render.
For a beginner, keep the engine and scene simple until you can explain a change in the image. If a surface looks wrong, check its material, illumination and view before adding geometry. A denser mesh won't fix an incorrectly framed camera or the absence of a useful light.
Where Blender hands the project to another tool
Blender's native .blend file preserves its editable project data. A delivered PNG contains pixels. An exported game or print mesh contains a chosen representation of the scene. Those are different deliverables, so agree on the required one before doing detailed work.
Game models still need a game engine
Blender can make the asset, including geometry, textures, rigs and animation. The receiving engine gives it gameplay behavior and interprets the imported data. Modern Blender doesn't include the old Blender Game Engine; it was removed in Blender 2.80.
Use a format supported by the actual destination. The glTF exporter documents support for meshes, materials and animation, but it also explains that glTF's material system differs from Blender's and that export recognizes particular node arrangements. Don't assume an arbitrary procedural material or modifier stays editable in another app. Export one representative asset early and check its scale, orientation, surface appearance and animation there before preparing a whole collection.
A print mesh and an engineering model have different checks
A printable object needs physical dimensions and a surface the slicer can interpret. Blender's STL export provides a mesh for that handoff; the slicer prepares the printer instructions. Check the imported dimensions and layer preview before printing. The 3D-printing workflow covers wall thickness, closed geometry and fit checks in more detail.
For a part driven by engineering constraints, drawings and tolerances, I'd use a CAD system as the design authority. Blender is useful for shaping and visualizing meshes, but setting units in a mesh scene doesn't create a constraint-based mechanical design or certify that a mating part will fit. Decide which application owns the dimensions and which representation your manufacturer needs.
For a client handoff, ask whether they need the editable Blender scene, an exchange mesh or only finished media. If the .blend references image textures or linked files, keep those dependencies with it: relative paths depend on the surrounding folder structure. Send a working project folder rather than assuming the .blend contains every external asset.
Who uses Blender? Look at the job they used it for
Individuals, hobbyists and production teams use Blender. Two primary accounts show why the details are more useful than a list of studio logos.
For the animated feature Flow, director Gints Zilbalodis described using Blender and EEVEE to judge lights, textures and camera framing together. That connection allowed him to explore shots while seeing their lighting. His January 2025 account identifies Blender and EEVEE as the film's production and rendering tools.
The EmbarkStudios/blender-tools repository documents a studio’s game-development modeling and standardized import/export tools. The repository's documentation describes export collections and FBX/OBJ handoffs. That illustrates Blender's place in an asset pipeline; its old Blender 2.81 prerequisite is not a recommendation to install the add-on in 5.2.
What free and open source mean, and who funds Blender
You can use Blender for personal, educational and commercial work without buying a software license. Under the GNU GPL terms explained in its manual, you can study, modify and redistribute the application subject to the license's conditions. The GPL covers Blender itself, rather than automatically imposing its license on the images or models you create.
That doesn't grant rights to someone else's textures, models, music, fonts or trademarks. Check the license of each asset used in a commercial delivery. Optional add-ons, training, stock assets and render services can cost money even though Blender is free. BlenderPro is the name of this independent tutorial site; you don’t need to buy an edition from this site to use Blender.
Blender's history begins with Ton Roosendaal's work in 1994; the software became open source in 2002 through the Blender Foundation's community-backed effort. The application was not first created in 2002. Today's project includes volunteer development contributions, while the Blender Development Fund supports developers working on features, fixes and releases. Individuals and companies can contribute; payment isn't a condition for downloading the application.
Open source also doesn't mean that every task is automated. You still choose the objects, their construction, materials, light, timing and output. A script or an optional AI integration may automate part of that work, but it doesn't remove the need to inspect the scene and the delivered result.
Choose the next task from the result you want
After the first image, repeat the same small scene with one intentional change. Learn to select and transform an object, edit its shape, then judge it from the camera under a deliberate light. That gives each control a reason to exist.
For mesh modeling, learn to recognize vertices, edges and faces, then try selecting an edge loop on suitable connected geometry. For an organic shape, move into sculpting brushes and their effects. If your destination is a print or a movie, follow that output's checks before increasing detail. Save versions of the editable project as you make changes, and keep the finished image or movie as a separate delivery.